
. . . . . . . . . . . . . . . . . . . . . . . . . . .

Ok I will admit it, since I have recently got into Game of Thrones I have a slight girl crush on Emilia Clarke. Anyone who can pull of a peroxide blonde wig gets a big thumbs up from me! Today I thought I would try out a makeup look inspired by Emilia’s Met Gala look. I really liked this sort of 90’s vibe she was rocking and thought it would be a great tutorial to do for you. It is a really simple but effective look, perfect for a night out with the girls or date night and I am going to show you how to recreate it in 9 simple steps!

So I haven’t included primer or skincare in the step by step as I think that is sort of a given for you to be doing! I am personally using the Nivea Express Hydration Primer at the moment just fyi! So firstly I used a creamy concealer to block out the under eye circles, I drew triangles from the corners of my eyes to the tip of my nose and then gently patted the concealer until blended out. I am using the Estee Laude Double Wear Concealer here in 01 Light.

Next I mixed up a base for a matt luminous finish. This particular look wouldn’t really work with dewy skin so I used the CK one 3in1 foundation mixed with a touch of the Look Beauty Airbrush Base. I applied it with my fingers for a more natural finish and also applied a little to the eyelids as a makeshift primer for the eye makeup!

Next I contoured the face, now this looks scary but it is really simple to do and just adds some definition. I actually used the Illamasqua cream blush in Zygomatic which is a really creamy nude, I applied it along my cheekbones, down the sides of my nose and on the sides of my chin and forhead, I then blended out with my Real Techniques buffing brush. For a little pop of colour I applied Look Beauty’s Make Me Blush in Flush to the cheeks too.
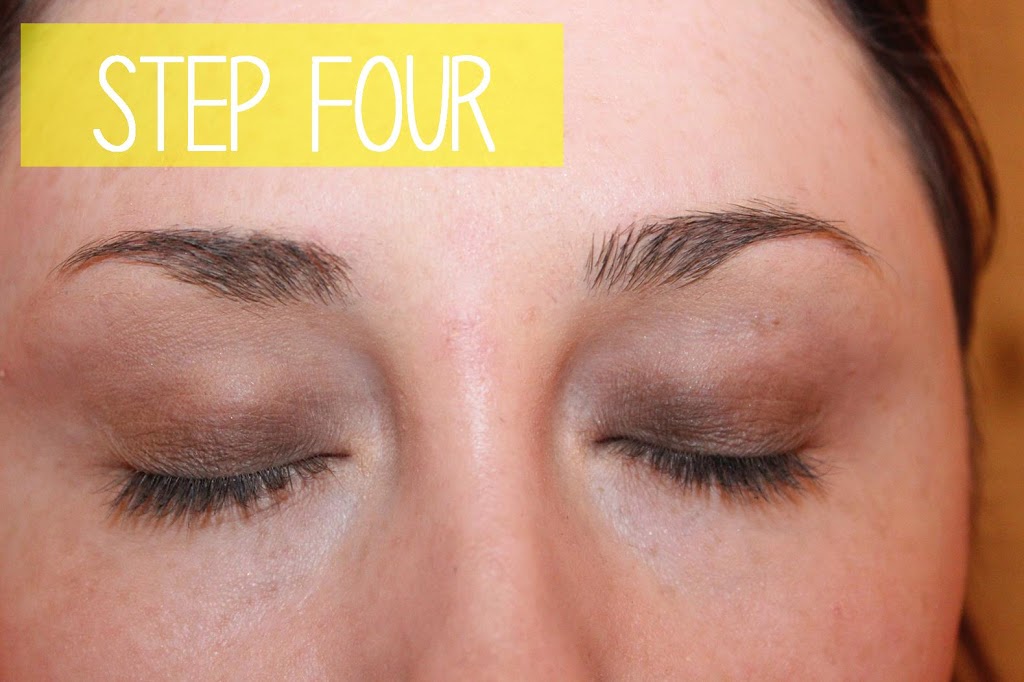
So onto the eyes! (I used the Sleek Palettes Respect and Oh So Special just another fyi bit)
Firstly I used a white shadow all over the lid up to the brow bone, I wouldn’t usually use white as it can be a little harsh but it worked well for this particular look. I then applied a dark matte brown shade to the lids focusing on the corners of the lids and just blending out with my fingers.

Next I applied a brown/bronze shade all over the lid and up to the brow bone, I used my Bobbi Brown eyeshadow brush and then blended out with my fingers. I also applied a darker brown shade to the corners of the eyes for definition.
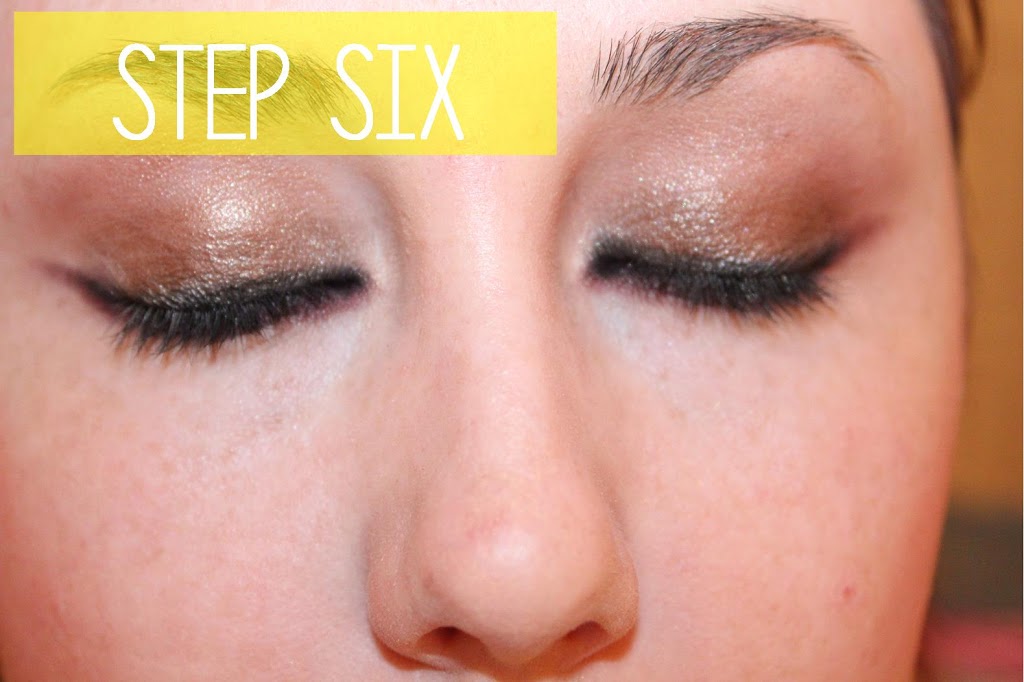
I then lined the lashes with a black kohl pencil, I used the Rimmel Scandal Eyes Waterproof Eyeliner. I lined the upper and lower lashline allowing the pencil to smudge out for a winged liner effect.

I then used the Japonesque 941 brush to smudge in a purple-brown matt shade along the lower lashline. I then continued the line over the ‘winged liner’ I had applied earlier.
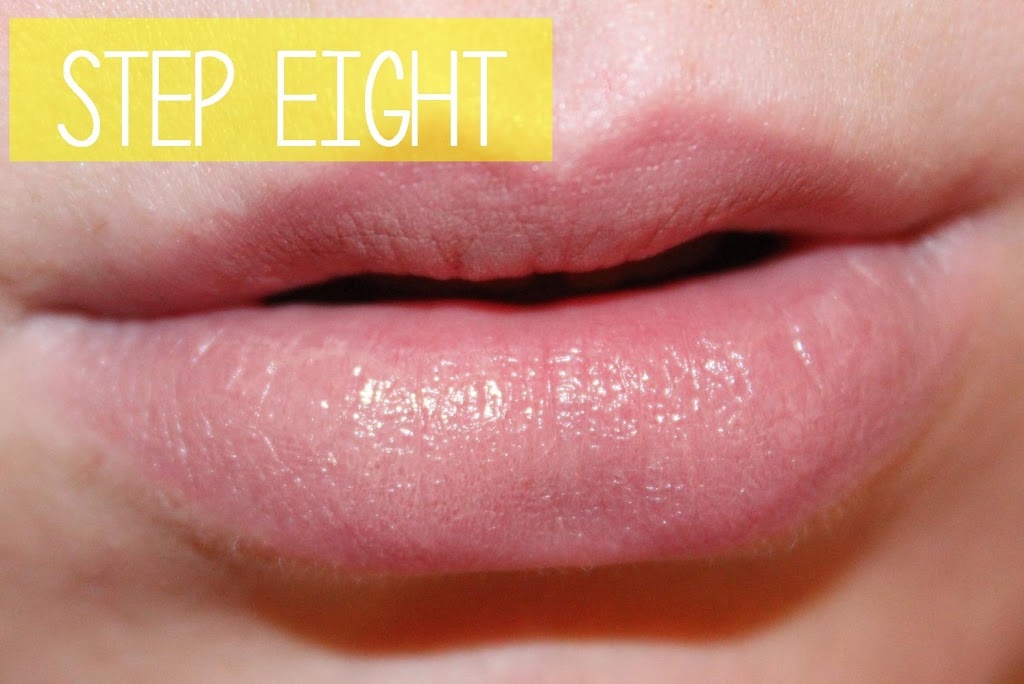
Next up I started on the lips, I actually used the Illamasqua Cream Blush in Zygomatic again and applied it with a lip brush before slicking on a coat of the MUA out there plumping lipgloss in nude.

Finally I finished the look my filling in the brows with the HD brows palette in Foxy, I used the Bobbi Brown Eyebrow brush which is a really good brush if you like them a little tougher to really buff the colour in! I then curled my lashes with the Shu Uemura curlers and applied the Maybelline Mega Plush Mascara, I used two coats for the overall ‘dramatic’ finish.


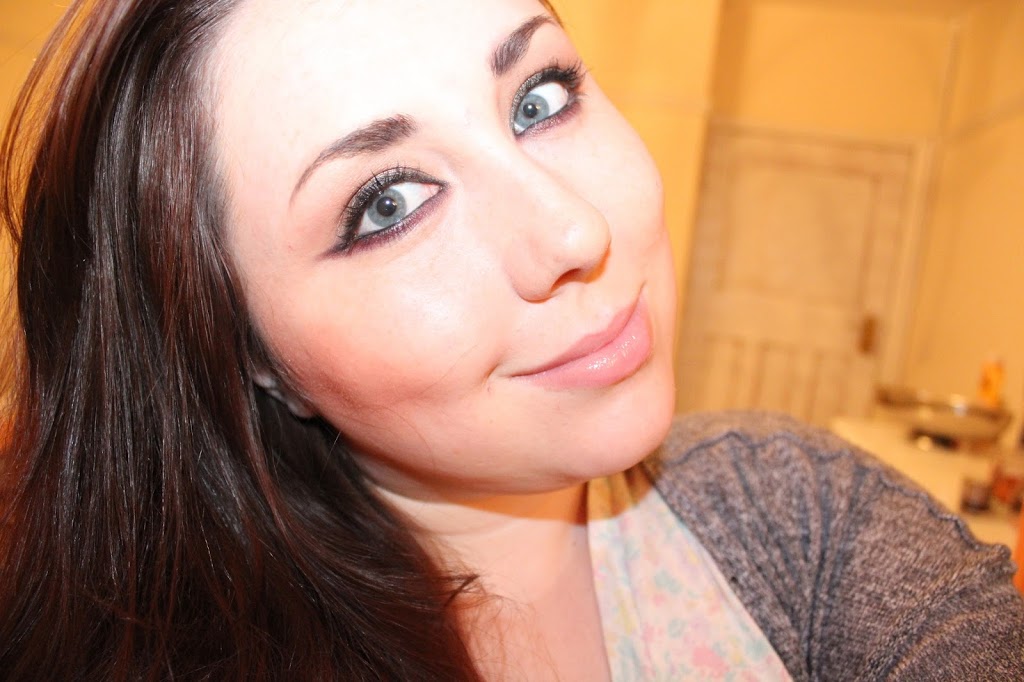
So that’s the final look, what do you think?
I had so much fun doing this tutorial and I really hope it was useful! If you like to see these sort of tutorials then make sure you leave me a comment telling me what other looks you’d love to recreate and I’ll be sure to do some more 🙂

Leave a Reply